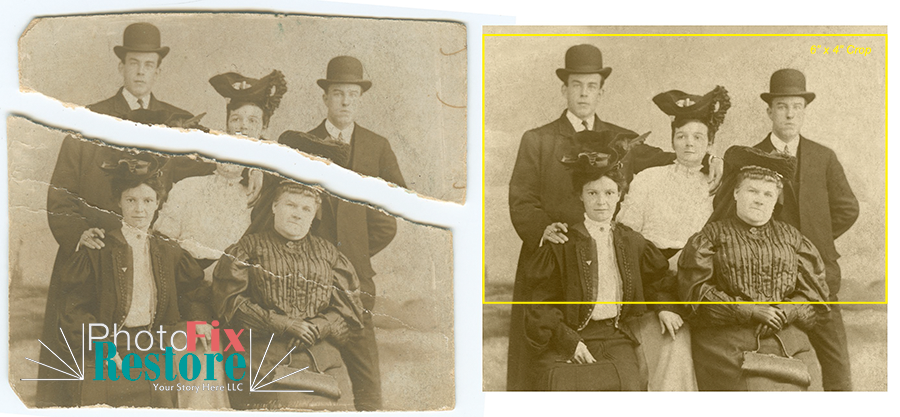
 | It would be funny if it wasn't often tragic: the family dog chews the photo; a vindictive lover tears (or scissors) up their couple photos only to reunite with their partner; a disaffected child feels unloved so rips up a photo of himself. Or, the photo was just too much loved and wore out! We have seen (and fixed) all these situations. So what is the prognosis for a torn photo? Can every torn photo be convincingly repaired and what is involved? What can you do if there are missing pieces? Are any images beyond repair? |
Assessing a ripped photo: The 5 key questions
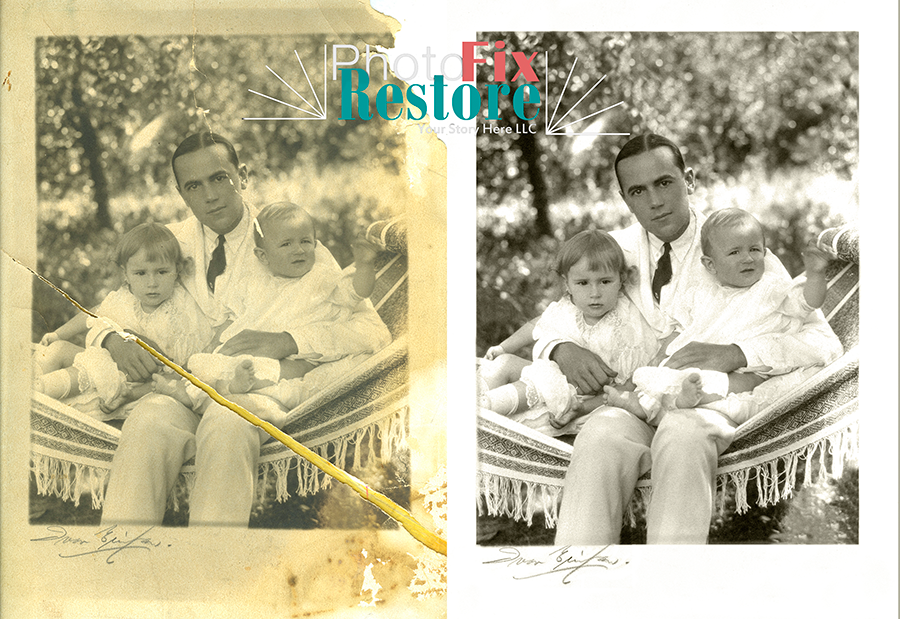
| When we get a photo which has been ripped apart there are five questions that we ask and that will determine how much time will be involved in the fix. First, do we have all the pieces? If the missing piece is from a vital area (the eyes, the nose or the mouth, for example) then we ask a second question: Can we use the intact information in the photo to help us? For example, one damaged eye can often be repaired by using the other eye. | 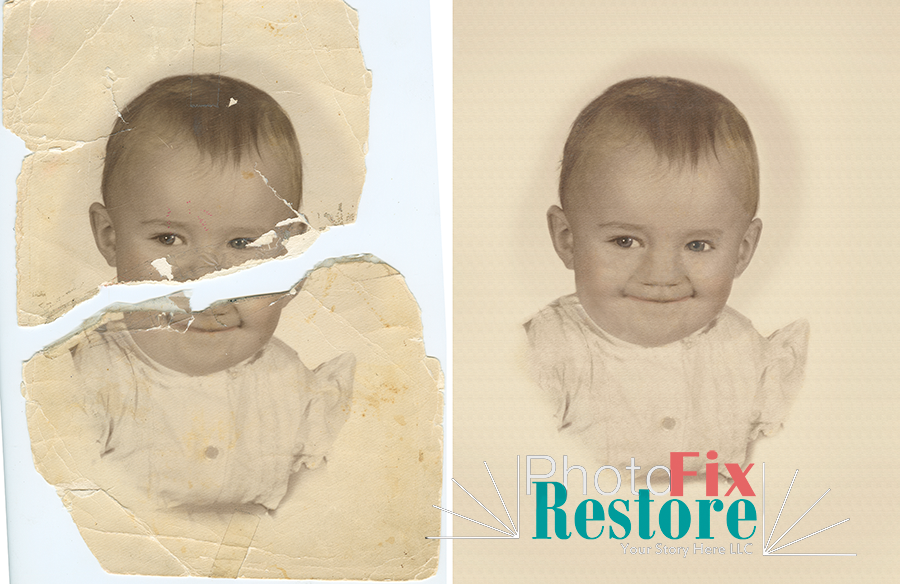 |
 | If the missing piece is major and involves the whole of the subject's head or another vital body part then we get to the third question: Is there another photo of the same person taken at about the same time. If there is another photo of the affected person, then there is a good chance that we can use it to supply the missing information and make a perfect repair. |
| The fourth question we ask is: what else needs to be done? Seldom is the the tear the only problem. Often there are other issues such as fixing color tone, removing small dust and minor scratches, or most commonly, overcoming earlier repair efforts like the staining and discoloration caused by old adhesive tape. Also common - and easily fixable - is a missing piece from a non-vital part of the photograph. | 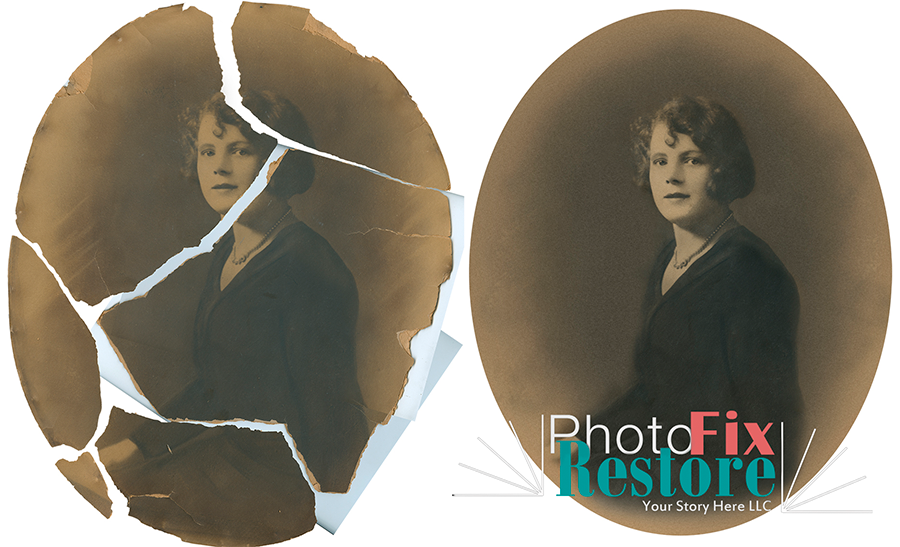 |
Finally, once we have made the repair and carried out other necessary restoration steps, we ask: What is the appropriate paper for the final print? We don't just print everything on high quality gloss paper (although sometimes that is the wisest choice). We like to do our best to match the original. For example, for the 16" x 20" oval portrait of the young lady above we used a cotton based, archive quality, slightly textured matte paper - and it looked totally gorgeous!
 | Technical details So, how do we go about fixing a torn photo? We like to scan each piece in high resolution separately. We take care to hold the scanner's color settings constant so that the color tone does not change across the pieces. For information about scanning, see our DIY Scanning page. |
We then bring the pieces into Photoshop and carefully trace the outlines of the emulsion, taking care to avoid selecting any of the substrate. We then mask otiose details and arrange each piece on its own layer. We carefully maneuver each piece into place (using the transform tool as needed) - similar to assembling a jigsaw puzzle. Once the torn bits are aligned we then clean up the joins with the cloning or healing brush tools. We then attend to the other issues facing the photo - like color tone or dust spots then we prepare and send a "before and after" preview. Once we have your approval, we make the print and send that along together with a digital copy of the image!
No torn images is beyond repair
Here at PhotoFixRestore, we like to say that no torn or ripped image is beyond repair - but some images may be beyond budget! While we have astonishing photo restoration tools at our disposal, those tools are wielded by meticulous, flesh and blood artists and most repairs just take time to make the restored photo look convincing - as you can see by the samples on this page. To get a fast and free estimate to repair your torn image just contact Peter.