Choosing a photo for the Your Story Here holiday card a few years back, I came across this old Library of Congress image: "Poor children playing on sidewalk, Georgetown, Washington, D.C." I have walked the streets of Georgetown, and the houses still look very similar - although their prices have risen quite a bit. (The poor now have to go somewhere else to be poor.)
As part of FDR's New Deal, FSA photographers fanned out across the country to document the plight of the poor in America. The images captured then have now entered our consciousness as defining the Depression. And those images - or 165,000 of them at least - are now housed in the Prints and Photographs Division of the Library of Congress. Every last one of them can be looked at on-line. Can you imagine a bigger treasure? What strikes the modern viewer most about the image above is the total absorption of the children in the simple wooden toy. (It's hard to tell, but it looks like a figure on a horse that can be pulled along on wooden wheels.) The children are almost reverential in their regard for the object - as if they are nervous about touching it. And it doesn't plug in, you may be thinking.
Not much else is known about the image of those Georgetown children. But the economy did recover, eventually. Too young to have been involved in WWII, most of them would easily have found jobs in the post war boom. (Discrimination, which held many back, should not have been a factor for these white children.) And if these kids had survived the Korean conflict (several of the boys would certainly have been caught up in the "Selective Service" military draft which started in 1948) then their economic lives should have improved immeasurably over their parents' - with the general prosperity of the 1950s.
The children of these Georgetown ragamuffins should also have fared well enough (comparatively anyway). It remains to be seen though how the grandchildren of these Georgetown tykes will weather the storm of our current economic woes. They will have more toys than their grandparents ever did, toys that do plug in, but they may have a less rosy future. Let's all hope that the New Year rings in a turnaround in the fortunes of this great country. And keep in mind that it's not just historical images that give up their secrets with a careful viewing. Every image I see, be it as a part of my video biography business - or as part of my more recent foray into photo restoration - contains a universe of information within its borders. Technical note: The Georgetown image above is pretty much as it appears in the LOC archive (aside from the text which many may say now defaces it!). I did remove some rubbish that was gathered at the kids' feet, and I obviously colored the toy to make it jump out. I also lightened the area surrounding the toy to separate it even further. Lastly, I added a slight sepia tint. (I beg the indulgence of the original photographer Mr. Mydans, one of this country's greatest photographers who passed away in 2004, who had no such tomfoolery at his disposal.)
0 Comments
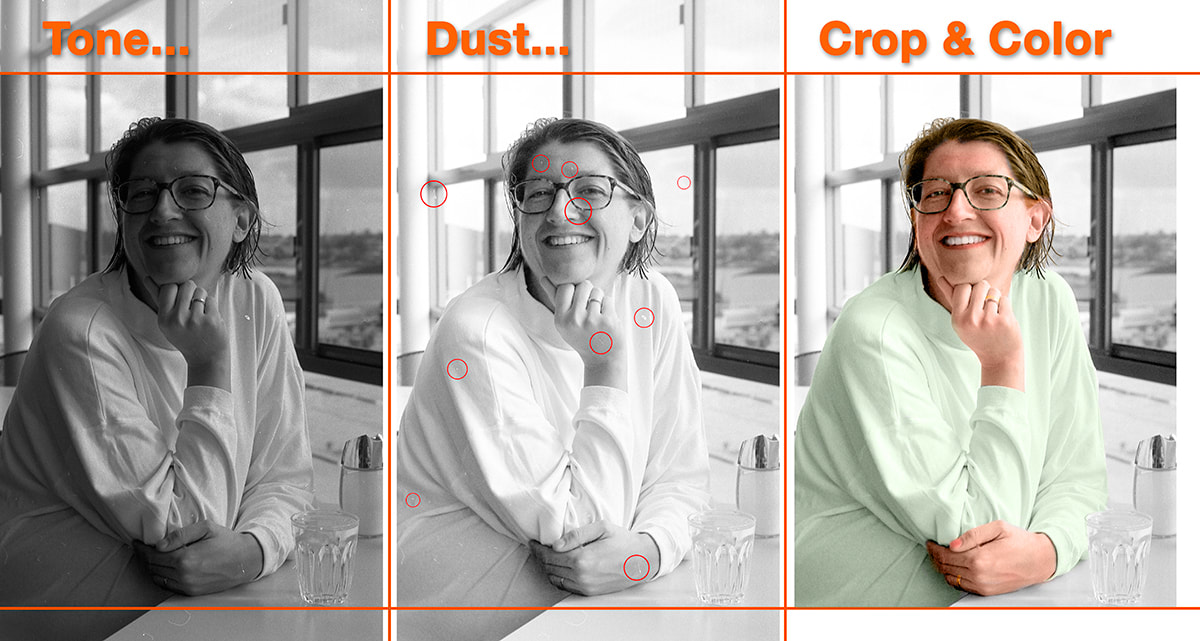
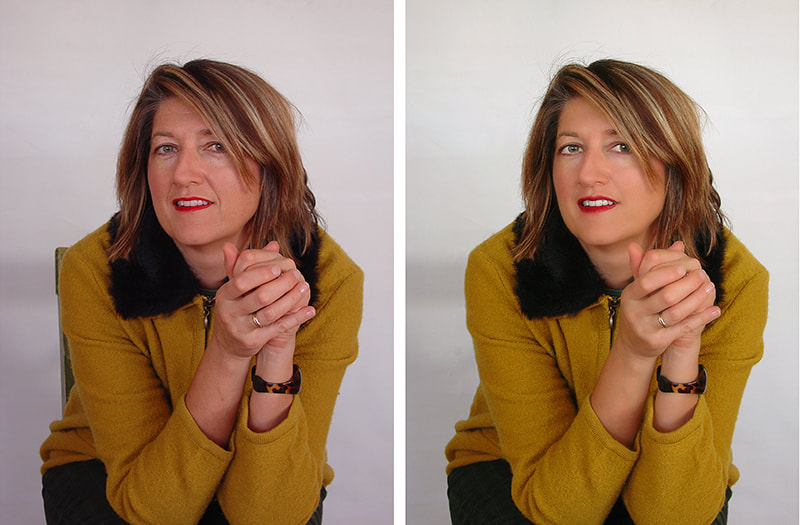
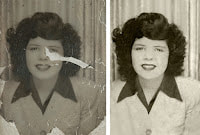
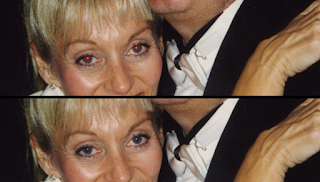
A lot of our work here at PhotoFixRestore is working on really tough images: water damage; photos torn into pieces; radical color shifts into magenta; fading so bad that features have disappeared from faces and color that is all but lost; we are even asked to remove people who are no longer in the family! But there is another category of our photo work that is not so much photo repair as photo enhancement. You may have a favorite photo that is not in terrible shape - but it is just not what it could be. It might be crooked; or perhaps the central figure is too remote. Maybe you had some slides scanned and they came out dark - or pocked with dust. Sometimes you just need some wrinkles removed or some skin smoothed - nothing too dramatic or fake of course. But poor lighting can make features look worse than in reality they really are.
1. People Falling Out? Reorient and Straighten Crooked horizons can be fun, especially if you want to add a touch of zaniness or even intrigue to an image. But, otherwise, it's just plain disorienting in a photo; or worse, your subjects look like they might slide right out of the photo entirely! One of the quickest and most powerful fixes is to adjust the rotation of the image so that the horizon - or the flat surfaces of furniture if you are inside - align with the top or the bottom of the image. 2. Flat Gray Images: Correct Contrast Some images look flat and lifeless - lots of grays but not much in the way of pure blacks and pure whites. Walden Pond at misty dawn is allowed to be gray, for most other images you want close to the full tonal range - which means you will need to adjust the contrast so that you have at least some absolute whites and some absolute blacks. If you are using Flickr's Aviary, it's the "Contrast" tool you will need, in Windows Live Photo Gallery its Auto Adjust>Settings>Exposure"; and in Photoshop Elements use Enhance>Auto Levels. 3. Drab Photos: Crank Up Saturation Colors lose their luster over time, sun and ozone have a way of leaching the saturation out of images. Sometimes the loss is in one or two color groups; if you are lucky, it is an overall loss of saturation across all the hues in the photograph that can be fixed with a simple movement in your photo editor's saturation color slider. In most photo editors, this fix can be found under the "saturation" adjustment. In Photoshop Elements use Enhance>Adjust Color>Adjust Hue/Saturation. 4. Fuzzy Photos: Sharpen If your photo is out of focus, there is no 100% effective cure. But by careful use of the "sharpen" tool, you can increase the contrast between light and dark pixels at the edges of objects - giving the appearance of a sharper, more focused image. This neat little trick can make up some of the lost ground in a fuzzy photograph - but by no means all. If you are using Flickr's Aviary, it's the "Sharpness" tool you will need, in Windows Live Photo Gallery there is no tool; but in Photoshop Elements use Enhance>Auto Sharpen or Enhance>Unsharp Mask.
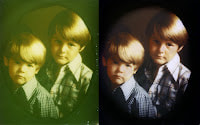
6. Hue Shifts and Color Casts: Color Correction Another common problem with old color photos is a differential loss of color (i.e. not even across all color channels) leading to a color shift or a color cast. Sometimes it was caused by using daylight-balanced film inside under incandescent lights and sometimes it's just color loss. Most photo editing programs give you a good shot at fixing the problem, by examining the overall balance between the red, green and blue color channels and making a correction if there is an imbalance. If you are using Flickr's Aviary, click the "Enhance" tool, then "Color Fix; in Windows Live Photo Gallery you have a choice between "Auto Adjust" and "Color" where you get to choose a countervailing color shift; and in Photoshop Elements use Enhance>Auto Color Correction or Enhance>Adjust Color>Remove Color Cast. 7. Dust, Scratches and Tears
This is really the holy grail in terms of amateur photo repairing - an easy to use tool that fixes dust and scratch marks. Luckily, we have now reached a level of sophistication in our quick and easy tools where these problems can sometimes be fixed by the part-time photo restorer. If you are using Flickr's Aviary, just click the "Blemish" tool and select the circle size; in Windows Live Photo Gallery the closest you can come is to use the "Noise Reduction" tool (which may not get you where you really want to be). Photoshop Elements is the most advanced of all the amateur programs and it really comes into it's own with dust and scratch repair: start with the Spot Healing Brush tool, or the Clone tool - both available in the tool panel on the left. I hope these seven quick and easy tool tips help you restore your precious old photos to their former glory. If you would like to see more examples of what can be achieved with old photos just click across to Photo Fix Restore's dedicated photo repair and photo restoration website and check out the extensive before and after gallery!
Wet photos that have become stuck
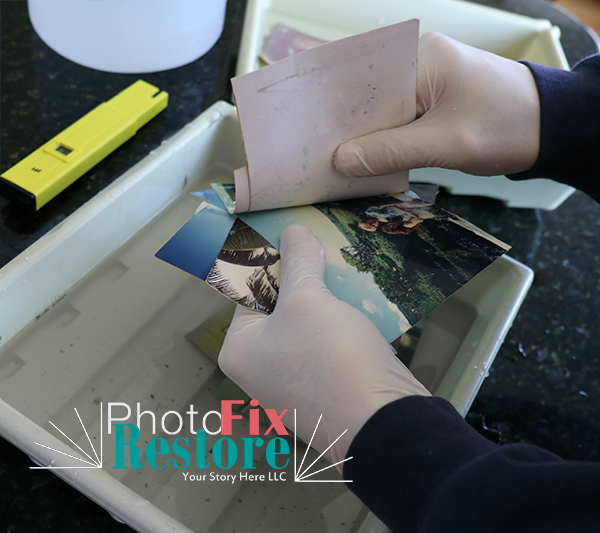
Water damage to photos due to storms, broken pipes, inadequate window or door flashing, garage or basement flooding, storage in high humidity environments, or just accidental human spillage, can be very serious. But if the problem is addressed while the images are still wet and if using the AIC recommendations then there is a strong likelihood that many if not all the images will be saved. Although, there may still be a need for some remedial photo restoration work. Once photos or negatives have become stuck in a block then specialized separation protocols are called for. PhotoFixRestore has had some experience applying these protocols and would be more than happy to discuss their applicability on a no-obligation basis.
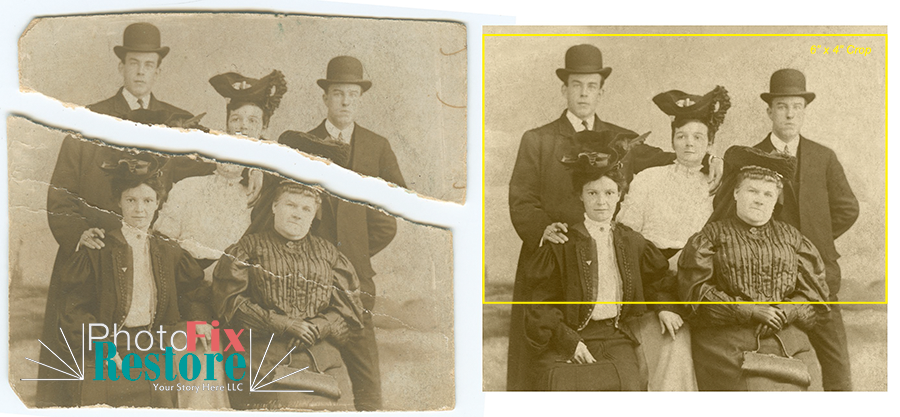
Assessing a ripped photo: The 5 key questions
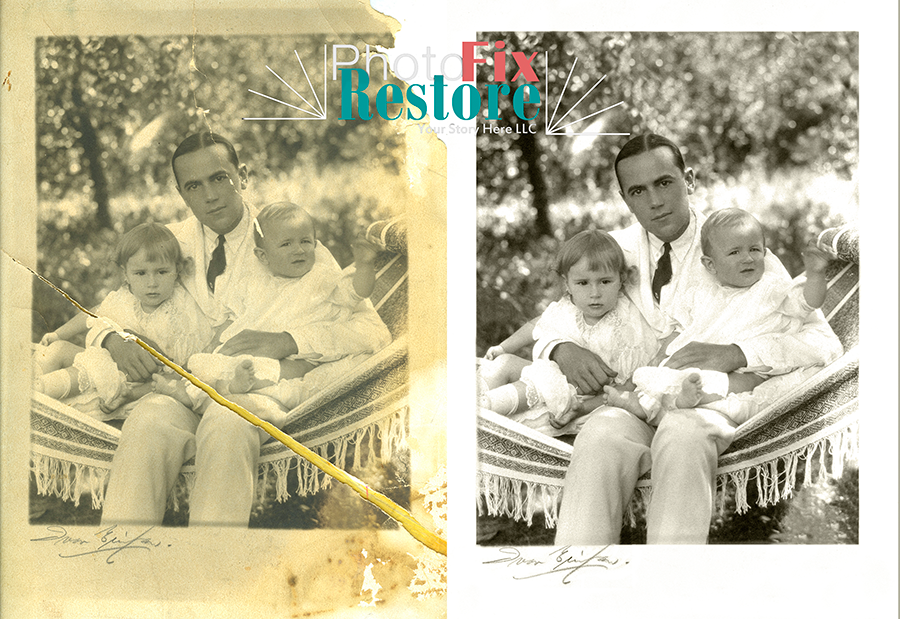
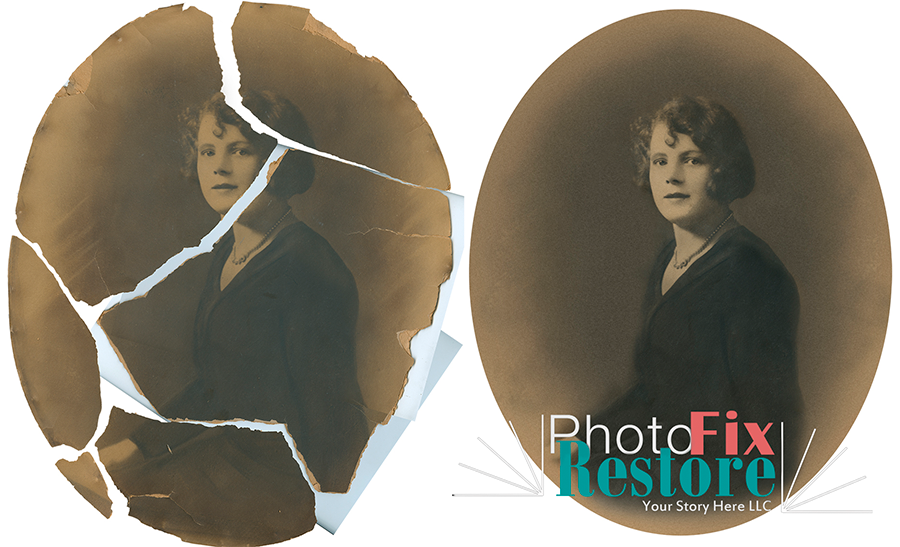
Finally, once we have made the repair and carried out other necessary restoration steps, we ask: What is the appropriate paper for the final print? We don't just print everything on high quality gloss paper (although sometimes that is the wisest choice). We like to do our best to match the original. For example, for the 16" x 20" oval portrait of the young lady above we used a cotton based, archive quality, slightly textured matte paper - and it looked totally gorgeous!
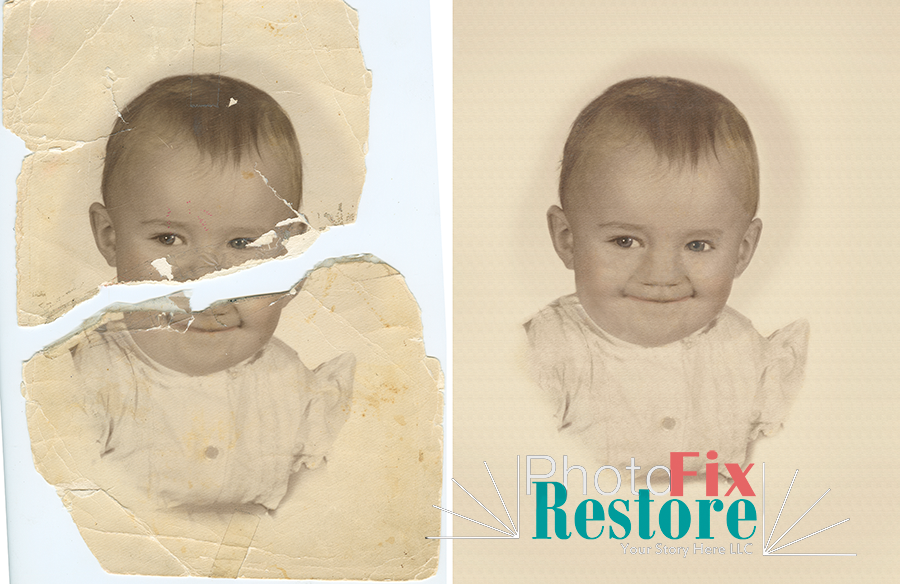
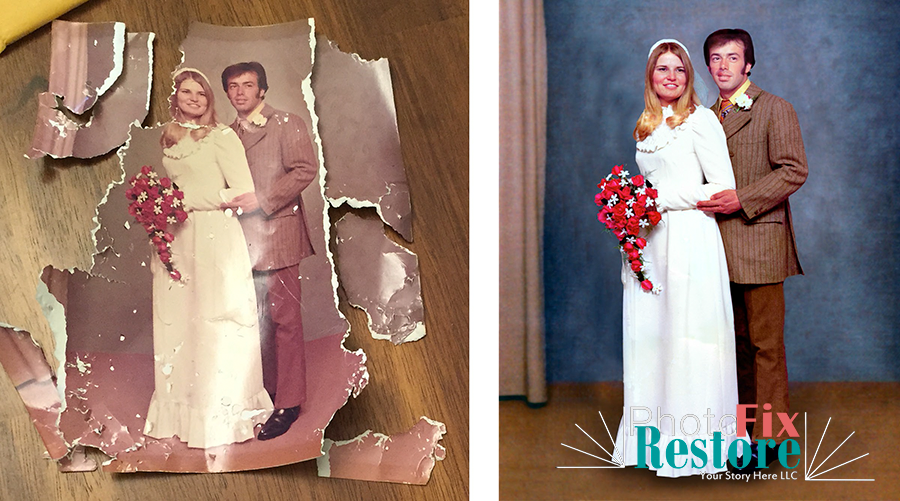
We then bring the pieces into Photoshop and carefully trace the outlines of the emulsion, taking care to avoid selecting any of the substrate. We then mask otiose details and arrange each piece on its own layer. We carefully maneuver each piece into place (using the transform tool as needed) - similar to assembling a jigsaw puzzle. Once the torn bits are aligned we then clean up the joins with the cloning or healing brush tools. We then attend to the other issues facing the photo - like color tone or dust spots then we prepare and send a "before and after" preview. Once we have your approval, we make the print and send that along together with a digital copy of the image! No torn images is beyond repair Here at PhotoFixRestore, we like to say that no torn or ripped image is beyond repair - but some images may be beyond budget! While we have astonishing photo restoration tools at our disposal, those tools are wielded by meticulous, flesh and blood artists and most repairs just take time to make the restored photo look convincing - as you can see by the samples on this page. To get a fast and free estimate to repair your torn image just contact Peter.
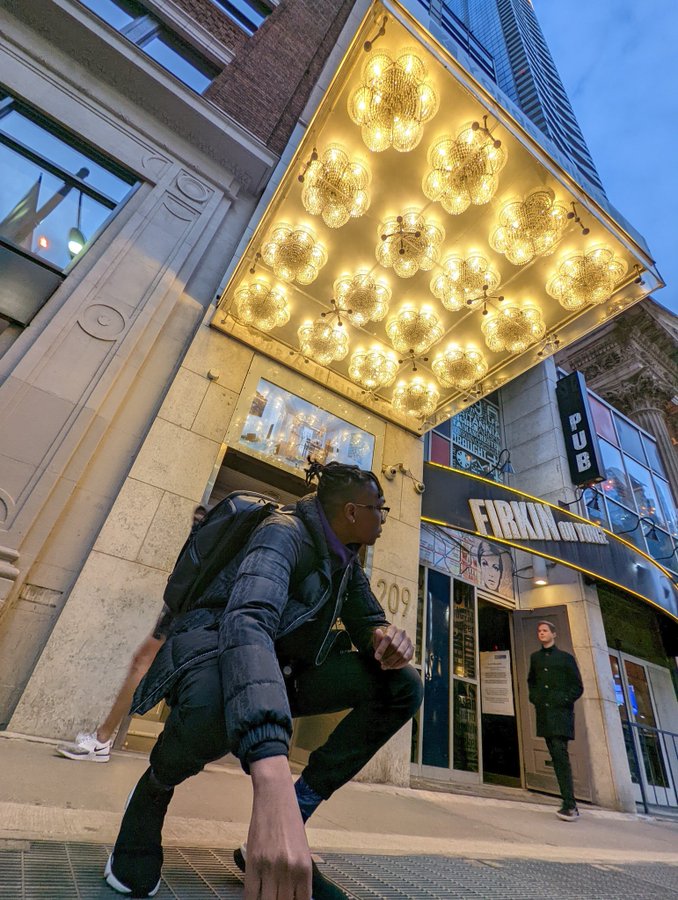
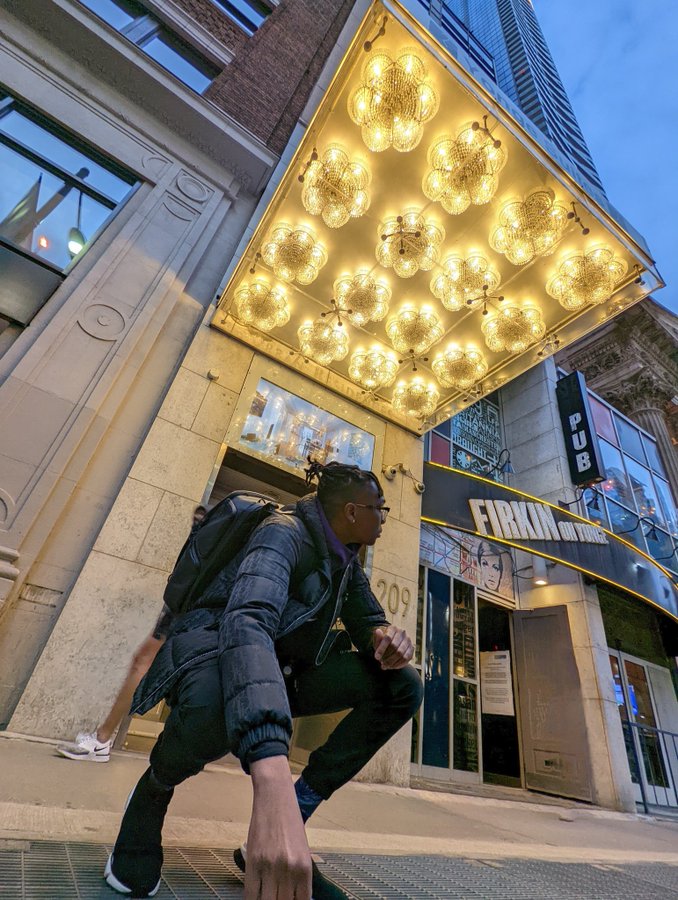
Poof! Annoying people and objects edited out of your precious photo in a single tap. Google’s Magic Eraser tool makes it easier than ever to edit photos on your handheld device. How does it do that? Thanks to new advancements in Artificial Intelligence (AI) and Google’s machine learning, this new feature makes what used to be an intensive job a much simpler exercise. Of course, not every photo can be restored by machines. For best results with more serious issues on that precious, one of a kind photo contact us and see what a human photo restorer can do! Is it really that simple? Yes, it is as simple as drawing a circle around whatever you might want removed. It gives you a preview, where you can decide what to remove and what to save. While it is not perfect how it crops background objects, it is quite impressive! Does it really work that well? While it is not as perfect as a professional photo editor, it can be a handy and convenient tool! Artificial intelligence already has many useful features for photo editing technology. Auto-brightness, filters, and auto-color are some tools that iPhone or Android users might already be familiar with. But the Magic Eraser takes it to another level - removing pesky objects like telephone poles, strangers at a crowded beach, or maybe even facial pimples. Is Google Pixel the only phone that does this? Yes, while the Google Pixel is the only phone at the moment that comes with this auto-removal function, there are other ways to achieve similar results. The Magic Eraser can also be accessed through Google Photos. Snapseed has a ‘Healing’ option which colors over objects you want removed. And the TouchRetouch app offers an Object Removal function. Android police explains these alternatives in more detail. https://www.androidpolice.com/best-magic-eraser-alternatives/ What are some other options for restoring my photos?
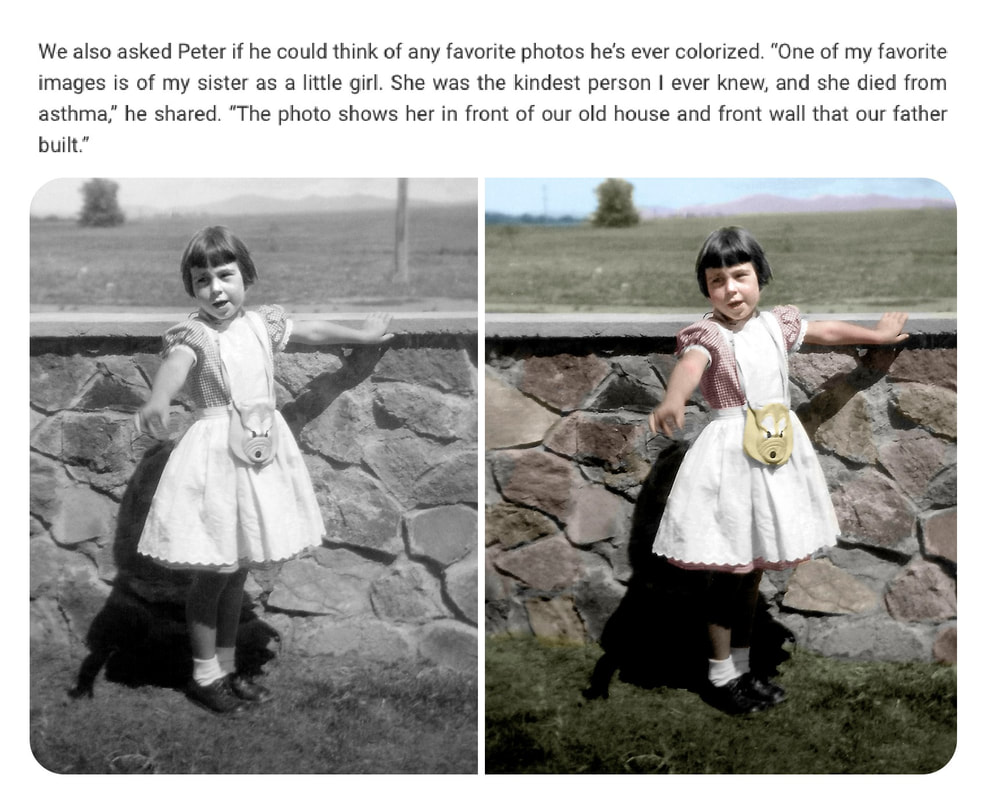
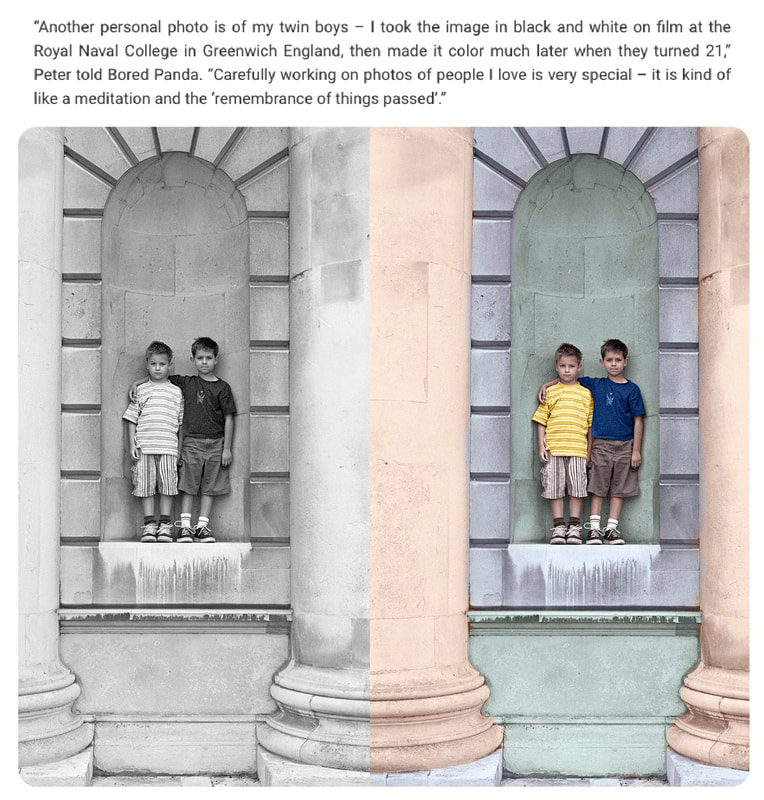
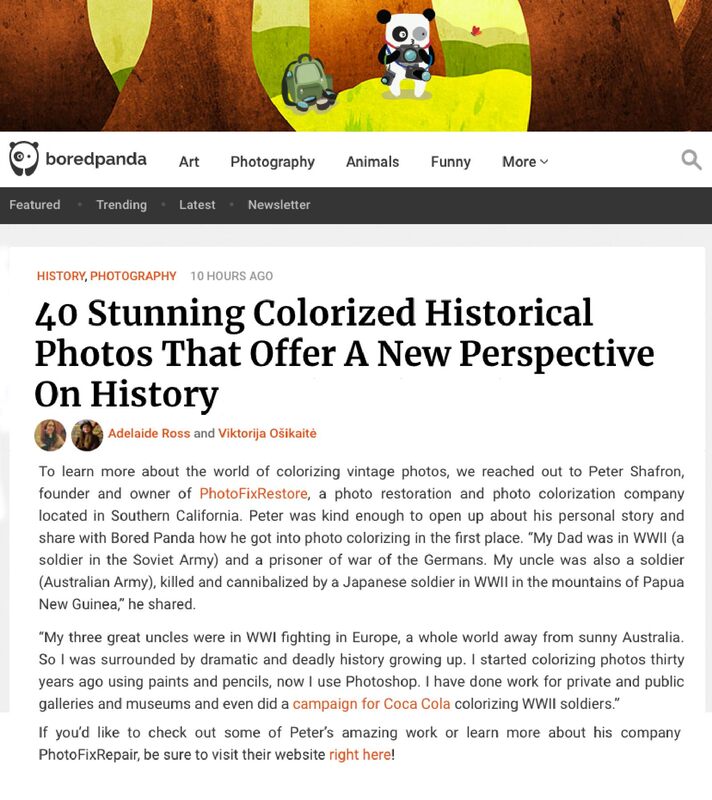
There are lots of other services you can find online to help transform your old photos to their former glory. Repairing serious issues like rips, fading, or discolorations is best achieved by a professional photo restorer. It is also possible to colorize a black and white portrait to make it feel like a contemporary image. For more information on colorization, follow this link for a more thorough explanation: colorize a photo For more information on how useful the magic eraser tool is, check out this article by Tom’s guide: https://www.tomsguide.com/news/google-pixel-6-magic-eraser-tested-how-good-is-it For step-by-step instructions, see it explained by PhoneArena here: https://www.phonearena.com/news/how-pixel-6-magic-eraser-works_id135993 Bored Panda (with a whopping 120M monthly readers) reached out to us earlier this week, curious about our photo colorization work (https://www.photofixrestore.com/colorize.html) for a story they were doing (https://www.boredpanda.com/colorized-black-and-white.../). These are some extracts of the published interview which appeared this morning. We are happy they reached out to us to get an expert’s view on how colorization works, and why people are so excited about it. Why colorize a black and white photo? Old photos are the closest thing we have to a time machine. Looking at an old photo is like peeking through a small hole in the dark blanket of time. Colorizing an old photo makes that experience even more real. To see an old black and white photo carefully colorized is always an emotional experience because it makes us realize that we are really like those people, separated by years but not by our humanity. Adding color brings the people and the surrounding items back to life with an immediacy and an impact that can be truly stunning. Colorizing old photos really is a way to make them come alive. You feel like you might have known them. How does colorization work? In the old days we used paints and pencils applied directly to the photographic print, first applying a spray lacquer to create a “key” for the paints or pencils, then going to work like you would with a coloring book. These days we scan the image in high resolution then open it in Photoshop. Next, we restore any tears or scratches, and apply a very light sepia tone – this helps later get the right skin tone when we apply color. We then go to work applying color, digitally painting each item individually on a separate Photoshop layer. Sometimes we end up with 50 or more layers! But the real secret is getting the tone right. Does colorizing damage the original?
In the days of manual coloring, there was the high likelihood that the original would have to be replaced. However, using modern photoshop methods, the precious original can be kept safe while a new copy is digitally authored. To learn more about why people are colorizing old photos, check out this article in the Paso Robles Daily News: https://pasoroblesdailynews.com/should-you-colorize-your-old-family-photos/128928/ For more explanation on how colorization works, take a look at the colorization page on our website!
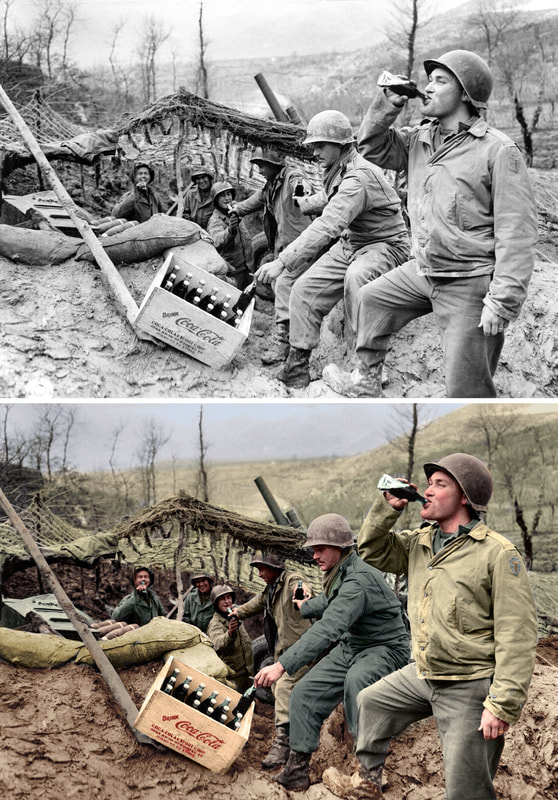
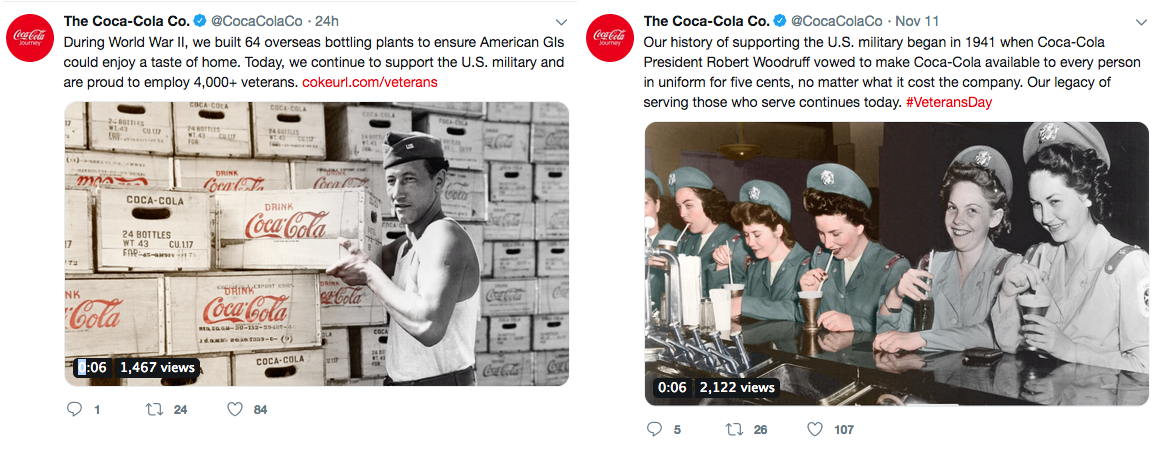
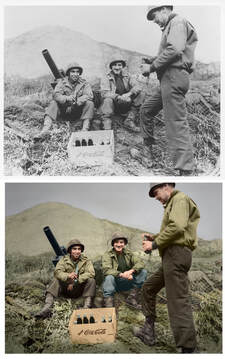
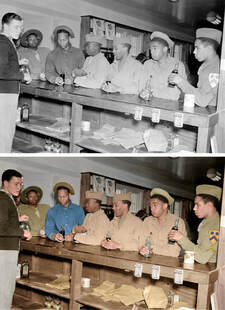
The work we did restoring and colorizing old photos for Coca Cola is the same as we do for all clients: We accessed and assessed the images, we then restored them in black and white by eliminating dust and marks, tweaking tone and contrast, lightening dark areas and darkening light areas. We used a very light touch though. With historical images the adjustments need to be nuanced and subtle. Next, we researched colors for nurses and soldiers uniforms, brands, patches and insignias and created a library of reference images. We then got to work with our digital paint brushes. Once we were satisfied - and that is not easy to do - we sent previews to the team at Coke who consulted their higher ups and pronounced themselves very happy with the work. We worked to a very tight timetable and the photos went out on Veterans Day 2019 to Coke's 3.5M followers. If you need help with an old photo restoration or with an old photo colorization just click through to our contact page
and speak to Peter. With PhotoFixRestore you speak directly to the owner who is also our master restorer!
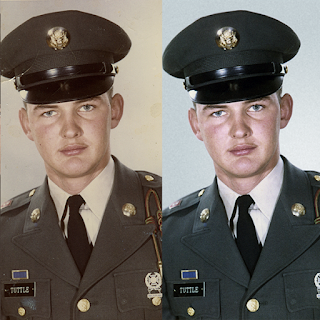
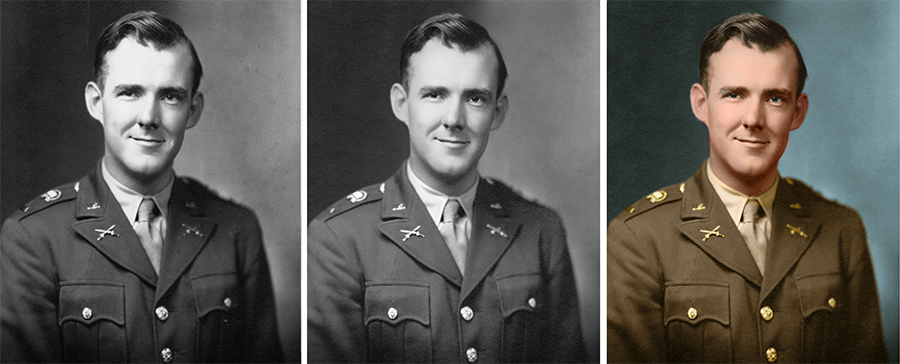
Lamar State College is also a school that remembers its history, and its modest beginnings in the former Tilley Elementary School (then an extension of Lamar University). Tilley Elementary commemorates a heroic young man named William Tilley who heeded his Nation's call and enlisted to serve in WWII. Tragically, lieutenant "Bill" Tilley became the first fatality from Orange, Texas in that terrible conflict. The school needed a formal portrait of Lieutenant Tilley to grace their halls - but none was to be found. There was an old monochrome portrait – but it was not in great shape. Could the old photo be restored? Could it perhaps (gulp) be colorized? Which is where PhotoFixRestore came in! Working with Lamar State College we were able to make the photo restoration and, after some research to confirm colors for his Army uniform, add color to the old photo and bring it back to life. The College chose to have us print the portrait at 16" x 20" on super premium Epson "Exhibition Fiber" paper. It's not all hard work and study at Lamar State College of course. The school just welcomed its first athletic team. And this being Southeast Texas and the school being located just above the gulf - with all its rivers and lakes and estuaries - that team is, of course, the fishing team. And their mascott? Tilley the Gator! Many thanks to Amy Moore at Lamar College for allowing us to share this wonderful story.
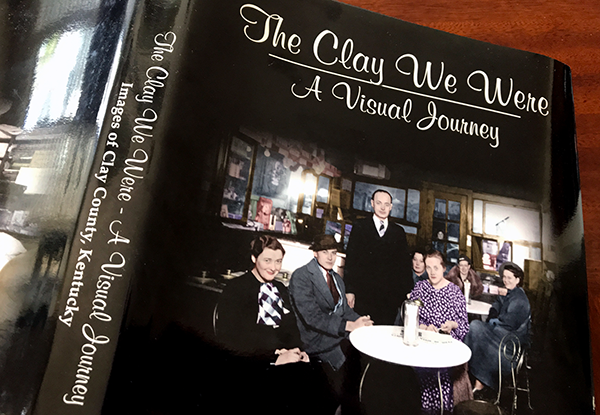
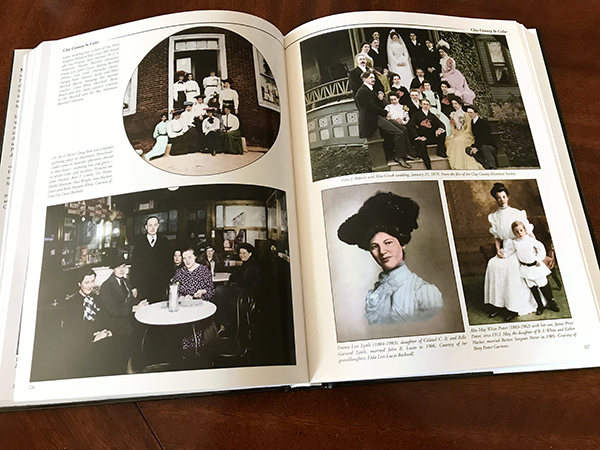
The history of Clay County is also the history of the westward movement and settlement of people across the vast United States. "Clay County has been a center for both salt and coal production, timber and agriculture, beautiful homes and rich traditions, a place where people are known for hard work, steadfast faith, and family values," the book tells us. Working with the professionals at the Genealogical and Historical Society, we were involved in helping select images appropriate for restoration and colorizing. We then carried out research to determine appropriate colors. For example, in the image of an older gentleman standing in front of a country store (see slideshow below) we were able to locate a number of historical advertising signs to inform our choice of palette. Then we went to work! We were stunned to read that we were given a very generous shout out: "To our new friend in California, Jane Shafron, at Your Story Here (dba as PhotofixRestore), the work you do to colorize old photos is amazing! We know everyone is going to be as impressed as we are with the finished products."
|
Good to know...
Here we put the sales hat away and just offer tips, advice and inspiration for photo scanning, restoration and repair, and even photo printing! Archives
June 2024
Categories |